Quickstart
Given the technical nature of this cloud environment, here we describe a workflow where a user can connect to an Azure Virtual Machine and use the terminal similar to a local based server.
Secure Shell (SSH)
SSH or Secure Shell is a network communication protocol that enables two computers to communicate (c.f http or hypertext transfer protocol, which is the protocol used to transfer hypertext such as web pages) and share data. Depending on the user’s local machine operating system, there are various means to connect via SSH into a running Azure VM. Below we describe connecting through a Unix based OS (Linux or MacOSX).
SSH key gen
First one needs to create a key pair for the local machine to connect the VM. This can be done by opening a terminal and typing:
ssh-keygen -t rsa -b 4096 -f key-filename
This command will create two files, key-filename which is the private key and key-filename.pub which is the public key. The public key will be submitted to the VM to connect with the local machine and the key-filename file is the private key that will confirm that prrof of the user’s identity that should live only on the local machine.
Public key submission can be provided to the Azure VM through the GUI, seen in the gif below.
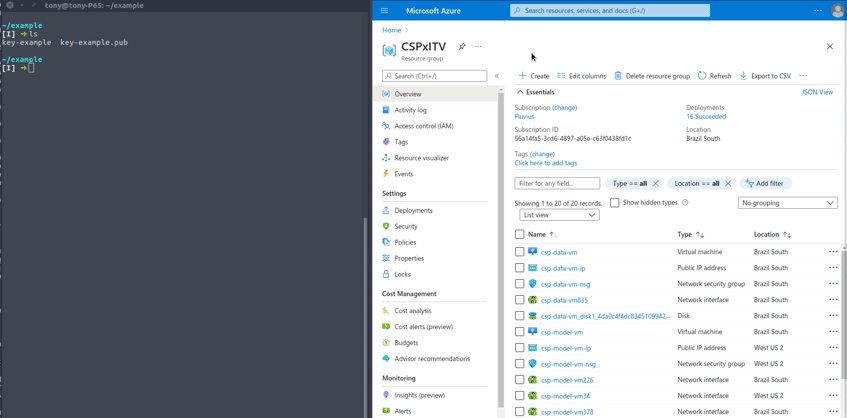
Alternatively, one can add their public key and add a user to an existing VM using the Reset password blade on the Azure VM portal GUI. Note that this does not actually reset the password unless the user already exists. If you are adding a user that does not exist, this creates a new profile within the VM. This means multiple users can connect via ssh with their own unique key to a specific VM.
Connect via SSH
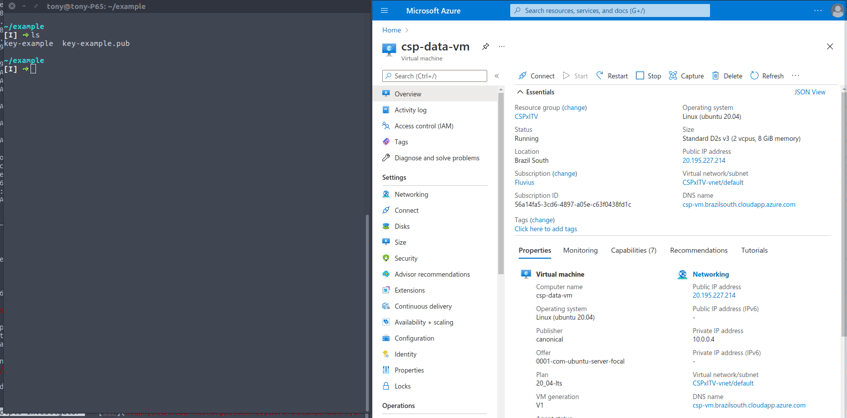
Once the key is generated and public key submitted to the VM, the user needs only start the VM and then connect via ssh from the terminal to the VM. This is now a virtual environment that can be accessed anywhere.
Go to the terminal and type:
ssh -i $PUBLICKEYFILENAME\
    -L localhost:$PORT:$DNS:$PORT \
    $USER@$DNS
where the following variables are:
$PUBLICKEYFILENAME: The public key that you generated with ssh-keygen (e.g key-example.pub)$PORT: The port that you wish to mount to the VM (e.g. 8888)$DNS: The IP address for the VM or DNS name (e.g. vm-brazilsouth.cloudapp.azure.com)$USER: The username associated to ssh-key (e.g. itv-user)
Note that the $PORT must be added to the VM and not already allocated by the local machine. This is commonly ‘8888’ or ‘8080’, but can be anything the user wants to share with the VM. This will be useful when connecting to a Jupyter Notebook instantiated by the VM.
Using a DNS name for $DNS is useful to not require a new dynamic IP address for the VM each time it is turned on. A DNS can be assign following this guide.